honeywell t6 installation manual pdf
The Honeywell T6 Pro Series Thermostat is an advanced, programmable, Wi-Fi-enabled device designed for smart home integration, offering precise temperature control and energy efficiency. It features a user-friendly interface, remote access via the Honeywell Home app, and compatibility with various HVAC systems, making it a versatile solution for modern heating and cooling needs;
1.1 Overview of the Honeywell T6 Pro Series
The Honeywell T6 Pro Series includes a programmable thermostat, UWP Mounting System, and Standard Installation Adapter. It offers smart features, energy efficiency, and compatibility with various HVAC systems. The thermostat is Wi-Fi enabled, allowing remote control via the Honeywell Home app, ensuring convenient temperature management and optimal performance.
1.2 Key Features of the T6 Pro Thermostat
The T6 Pro Thermostat offers advanced features like geofencing, smart responses, and energy-saving modes. It supports Wi-Fi connectivity, permanent hold functionality, and integration with smart home systems. The thermostat is compatible with various HVAC systems and includes a user-friendly interface for easy programming and control.
1.3 Compatibility and System Requirements
The Honeywell T6 Pro Thermostat is compatible with most HVAC systems, including forced air, radiant, and heat pump systems. It requires a C-wire or battery power and supports Wi-Fi connectivity for smart home integration. Ensure your system meets these requirements for optimal performance and connectivity.
Pre-Installation Checklist
Verify system compatibility, gather tools like screwdrivers, and ensure power is off. Check wiring, compatibility, and package contents. Have batteries ready and consult the manual for specific requirements before starting.
2.1 Tools and Materials Needed
The installation requires tools like screwdrivers, pliers, and drill bits. Materials include 2 AA batteries, wall anchors, screws, and the UWP Mounting System. The Honeywell Decorative Cover Plate and Standard Installation Adapter are also provided for a seamless setup.
2.2 Understanding the Package Contents
The Honeywell T6 Pro Series package includes the Lyric T6 PRO Wi-Fi Thermostat, UWP Mounting System, Honeywell Standard Installation Adapter, Decorative Cover Plate, screws, anchors, and 2 AA batteries. The box also contains the installation instructions manual and user guide for setup and operation.
2.3 Safety Precautions Before Starting
Before installation, turn off power to the HVAC system at the circuit breaker. Ensure the thermostat is placed away from direct sunlight, drafts, and heat sources. Handle batteries and wires carefully to avoid damage. Follow all safety guidelines in the manual to prevent hazards and ensure proper function.
Installation Steps
The Honeywell T6 Pro installation involves mounting the UWP system, connecting wires to the thermostat, and optionally installing a decorative cover plate for a sleek finish.
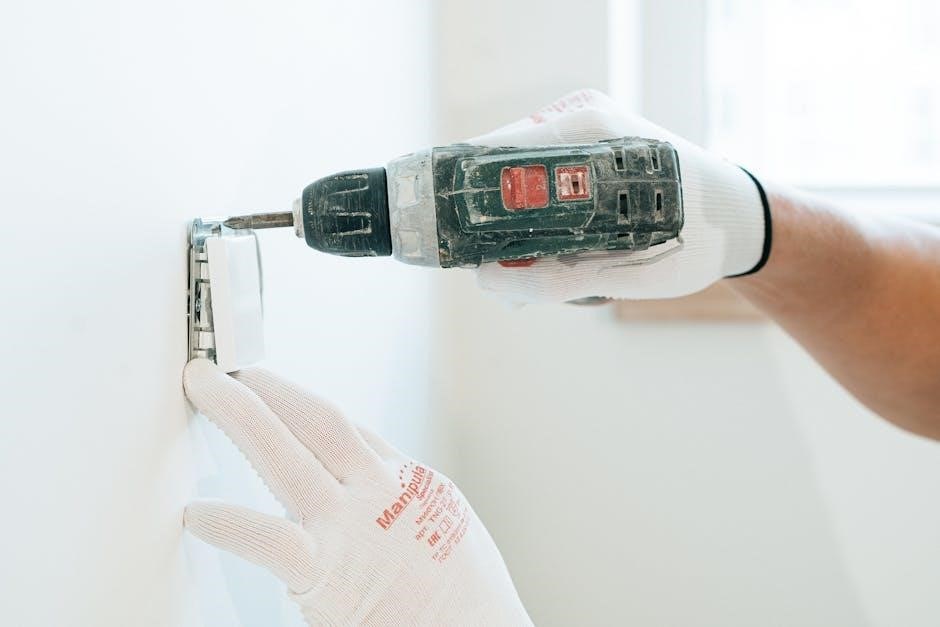
3.1 Mounting the UWP System
Mount the UWP system using the provided screws and wall anchors. Ensure the location is away from drafts, direct sunlight, and heat sources. Align the UWP over the wall anchors and secure it tightly. The thermostat should be at least 1.2 to 1.5 meters above the floor for optimal performance.
3.2 Connecting the Wires to the Thermostat
Insert the R and C wires into their designated terminals on the thermostat. If using batteries, the C terminal is optional but recommended for primary AC power. Secure the wires firmly by depressing the terminal tabs to ensure a proper connection and prevent loosening over time.
3.3 Installing the Honeywell Standard Installation Adapter
Attach the Honeywell Standard Installation Adapter (J-box adapter) to the UWP Mounting System using the provided screws. Ensure proper alignment and secure fastening. This adapter is essential for mounting the thermostat to an electrical junction box or covering any paint gaps from a previous installation.
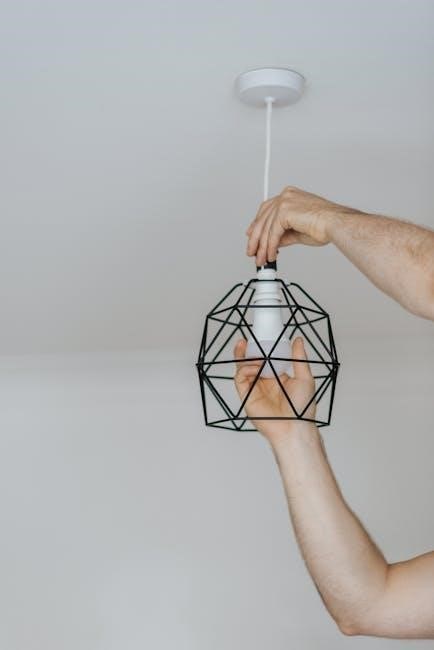
3.4 Optional Decorative Cover Plate Installation
The optional decorative cover plate provides a sleek finish, covering any paint gaps from previous installations. Simply align it with the UWP Mounting System and secure it using the provided screws. This plate is ideal for enhancing the thermostat’s appearance while maintaining functionality.
Programming and Configuration
The Honeywell T6 Pro Series allows users to set custom schedules, adjust temperature settings, and configure smart features like geofencing and energy-saving modes for optimal performance.
4.1 Setting Up the Thermostat Schedule
To set up the Honeywell T6 Pro Series Thermostat schedule, use the Honeywell Home app to create custom temperature settings for different times of the day. Select specific days, set desired temperatures, and enable features like geofencing for automated adjustments. Ensure all changes are saved for optimal energy management.
4.2 Understanding Hold and Permanent Hold Functions
The Honeywell T6 Pro Series Thermostat offers Hold and Permanent Hold functions. The Hold feature temporarily overrides the schedule until the next programmed change. Permanent Hold, accessed via the HOLD UNTIL message, maintains the temperature indefinitely until manually adjusted, providing flexibility for varying comfort needs and energy management.
4.3 Configuring Smart Features and Wi-Fi Connectivity
To configure smart features, download the Honeywell Home app and connect the thermostat to your Wi-Fi network. Select your network, enter the password, and follow in-app instructions. Once connected, enable geofencing and smart responses for automated temperature adjustments based on your location and preferences.
Troubleshooting Common Issues

Address wiring issues by checking connections and ensuring proper terminal setup. Resolve display problems by restarting the thermostat or replacing batteries if necessary.
5.1 Resolving Wiring and Connection Problems
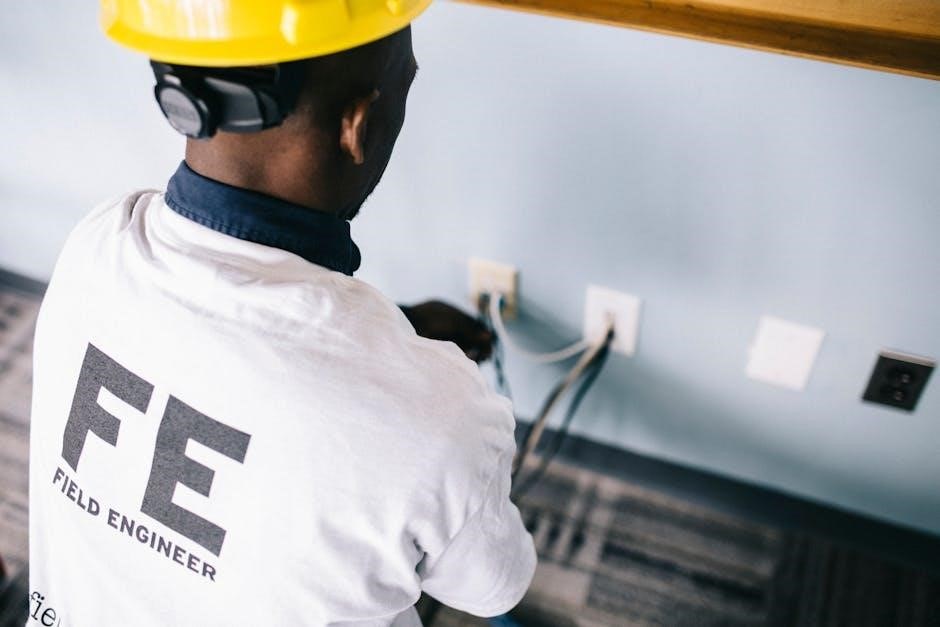
Check the R and C wires for proper connection to the thermostat terminals. Ensure all wires are securely inserted and not loose. Verify the slider tabs are correctly set for R/Rc. Refer to the wiring diagram in the manual for accurate connections. If issues persist, restart the thermostat after turning off power at the circuit breaker.
5.2 Addressing Display and Power Issues
If the display is blank or unresponsive, ensure the thermostat has power. Check the circuit breaker or replace batteries if applicable. Restart the device by turning off power at the breaker, then turning it back on. If issues persist, consult the user manual or contact Honeywell support.
5.3 Fixing Schedule and Hold Function Errors
If the schedule or hold function isn’t working, restart the thermostat by turning off power at the breaker. Check the schedule setup in the Honeywell Home app or on the device. Ensure the hold function is correctly activated and the schedule is properly configured. If issues persist, contact Honeywell support.
Maintenance and Upkeep
Regularly clean the thermostat display and sensors to ensure accuracy. Replace AA batteries as needed and update software for optimal performance and functionality.
6.1 Cleaning the Thermostat
Use a soft, dry cloth to gently clean the thermostat’s display and sensors. Avoid harsh chemicals or liquids, as they may damage the device; Regular cleaning ensures accurate temperature readings and optimal functionality. Clean the exterior and buttons periodically to maintain performance and aesthetics.
6.2 Replacing Batteries
The Honeywell T6 Pro Series Thermostat uses 2 AA batteries for primary or backup power. Replace them annually or when the battery indicator appears. Ensure the C terminal is connected if using batteries for reliable operation. This maintains continuous functionality and prevents loss of programmed settings.
6.3 Updating Software and Firmware
Regular software and firmware updates ensure optimal performance. Use the Honeywell Home app to check for updates and install them seamlessly. Always maintain an active internet connection during updates. Refer to the user manual or support resources for troubleshooting any issues during the update process.
Advanced Features and Customization
The Honeywell T6 Pro Series offers advanced features like geofencing, smart responses, and integration with smart home systems. Use the Honeywell Home app to customize settings, optimize energy usage, and enjoy seamless control over your home’s climate.
7.1 Using the Honeywell Home App
The Honeywell Home app enables remote control of the T6 Pro thermostat, allowing users to adjust settings, schedule temperatures, and access smart features like geofencing. It integrates seamlessly with smart home systems, providing voice control and energy optimization through location-based temperature adjustments and real-time updates.
7.2 Integrating with Smart Home Systems
The T6 Pro Series seamlessly integrates with Amazon Alexa and Google Home, enabling voice control and smart home automation. It supports geofencing and smart responses, adapting to your location and schedule for enhanced comfort and energy savings through integrated smart home systems.
7.3 Setting Up Geofencing and Smart Responses
Geofencing uses your location to adjust temperatures when you leave or arrive home. Smart responses learn your schedule and preferences to optimize heating and cooling. Both features enhance comfort and energy efficiency, automatically adapting to your lifestyle through the Honeywell Home app.
Compliance and Warranty Information
The Honeywell T6 Pro Series Thermostat is backed by a limited warranty from Resideo Technologies, Inc. For warranty details and compliance information, contact Honeywell Customer Care at 1-800-468-1502.
8.1 Regulatory Compliance and Certifications
The Honeywell T6 Pro Series Thermostat meets regulatory standards and holds certifications like UL (Underwriters Laboratories) and comply with energy efficiency requirements. It adheres to industry safety and performance standards, ensuring reliability. For detailed compliance info, refer to the product manual or visit the Honeywell Home website.
8.2 Warranty Terms and Conditions
The Honeywell T6 Pro Series Thermostat is backed by a limited warranty, typically covering parts and labor for up to five years. Specific terms vary by region and are outlined in the product manual. For warranty claims, contact Honeywell Customer Care or visit their official website for details and support.
8.3 Environmental and Disposal Guidelines
The Honeywell T6 Pro Series Thermostat adheres to environmental standards and regulations. Proper disposal requires recycling batteries and electronic components through authorized facilities. Avoid disposing of the thermostat in regular waste to minimize environmental impact. Follow local guidelines for safe and responsible disposal.
Customer Support and Resources
Honeywell offers comprehensive customer support, including toll-free assistance at 1-800-468-1502 and online resources like manuals, troubleshooting guides, and FAQs to ensure optimal thermostat performance and user satisfaction.
9.1 Contacting Honeywell Customer Care
Honeywell Customer Care is reachable toll-free at 1-800-468-1502 or via their official website at customer.honeywell.com. They offer dedicated assistance for installation, troubleshooting, and general inquiries, ensuring comprehensive support for T6 Pro thermostat users through various resources and tools.
9.2 Accessing Online Manuals and Guides
Access official Honeywell T6 Pro Series manuals and guides on the Honeywell Home website. Download PDF manuals for installation, programming, and troubleshooting. Additionally, the Honeywell Home app offers digital guides and step-by-step instructions for seamless thermostat setup and operation, ensuring easy access to comprehensive support resources.
9.3 Troubleshooting Tips and FAQs
Troubleshooting tips for the Honeywell T6 Pro Series include checking wiring connections, resetting the thermostat, and ensuring proper Wi-Fi connectivity. FAQs address common issues like display errors, scheduling problems, and battery replacement. Visit the Honeywell Home website for detailed solutions and user-friendly guides.
The Honeywell T6 Pro Series Thermostat offers advanced features, energy efficiency, and seamless smart home integration. Regular updates and customer support ensure optimal performance and future enhancements.
10.1 Final Check and Testing
After installation, ensure all wires are securely connected and the thermostat is powered on. Verify the display is functional, and test temperature adjustments. Check HVAC system responsiveness and smart features like geofencing. Confirm remote access via the Honeywell Home app for seamless control.
10.2 Ensuring Optimal Performance
Regularly clean the thermostat and ensure proper mounting to avoid temperature inaccuracies. Check battery levels and wiring connections for reliability. Update firmware for the latest features and security. Maintain a stable internet connection for smart functionality and remote access through the Honeywell Home app.
10.3 Future Updates and Enhancements
Stay updated with automatic firmware upgrades for improved performance and new features. The Honeywell Home app regularly introduces enhancements, ensuring compatibility with the latest smart home systems. Future updates may include advanced energy-saving modes and expanded voice control capabilities.